
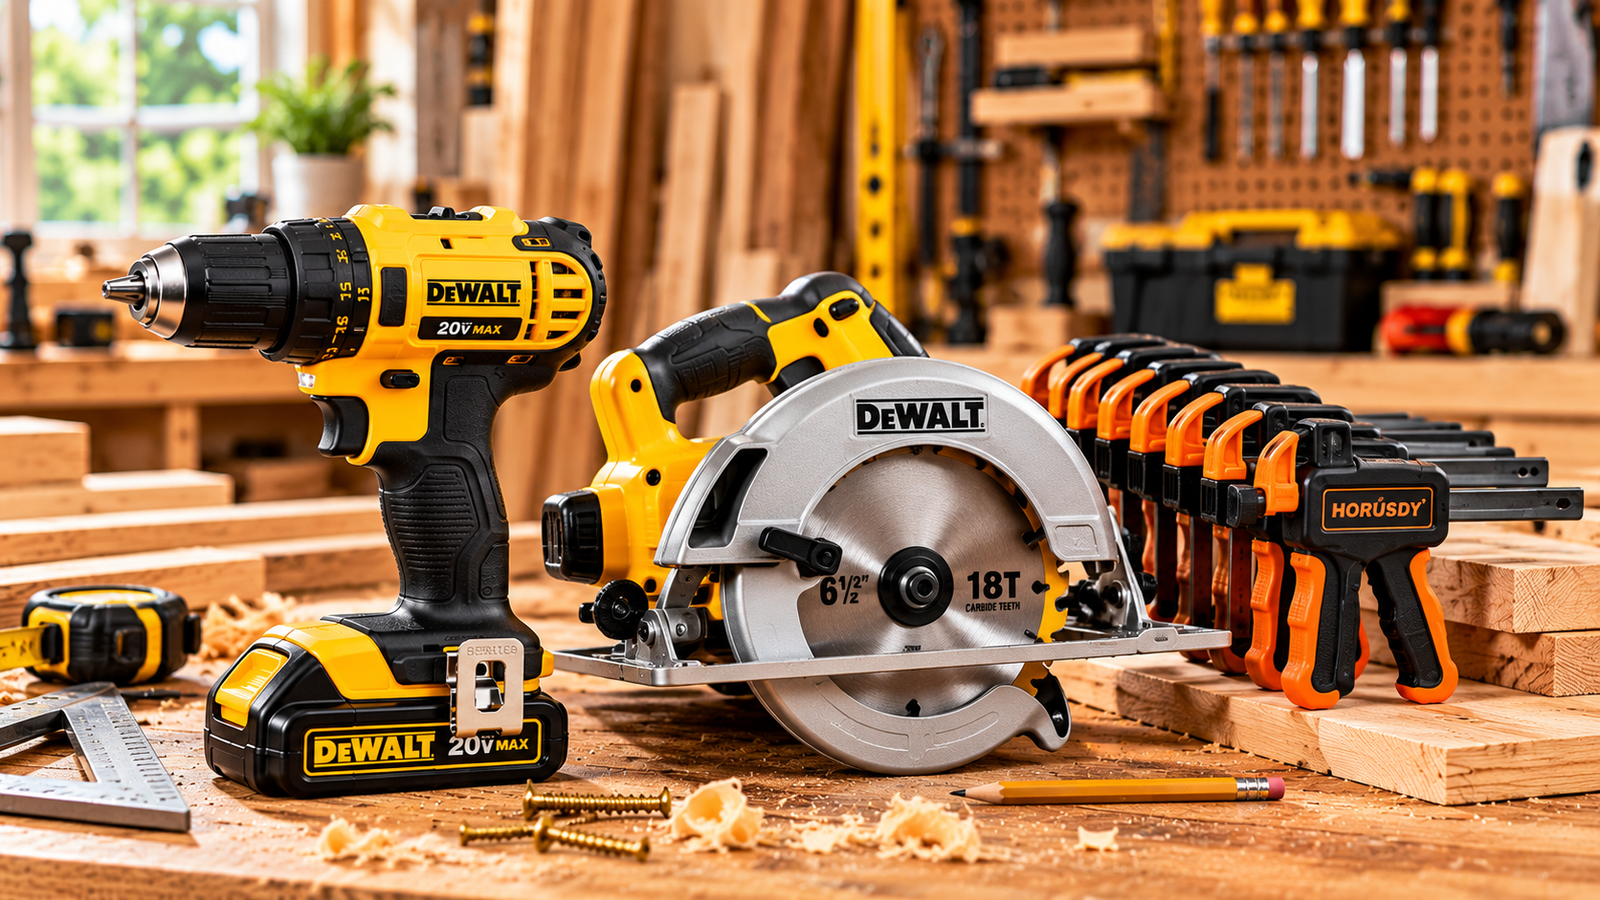
Building your first woodworking workshop does not require a large building or a collection of expensive machinery. A practical beginner workshop starts with a stable work area, good lighting, organized storage, basic hand tools, a few versatile power tools, and enough open space to work safely around your projects.
The goal is to create a workshop that supports the projects you actually build. Starting with a simple setup allows you to learn which tools, storage systems, and work surfaces are genuinely useful before filling the shop with equipment you may rarely use.
What Does a Beginner Woodworking Workshop Need?
A functional workshop should make it easy to measure, cut, drill, assemble, sand, and finish projects while keeping tools and materials organized.
- A stable workbench or work surface
- Good workshop lighting
- Measuring and marking tools
- Basic hand tools
- A cordless drill
- A versatile saw
- Clamps
- Sanding equipment
- Tool and material storage
- Dust management
- Appropriate safety equipment
You can add specialized equipment later as your woodworking skills and project requirements grow.
Beginner Workshop Tools to Consider
Disclosure: The product links below are paid affiliate links. As an Amazon Associate I earn from qualifying purchases.

DEWALT 20V MAX Cordless Drill/Driver Kit
A versatile drill-and-driver option for drilling holes, driving fasteners, assembling projects, and handling everyday workshop tasks.
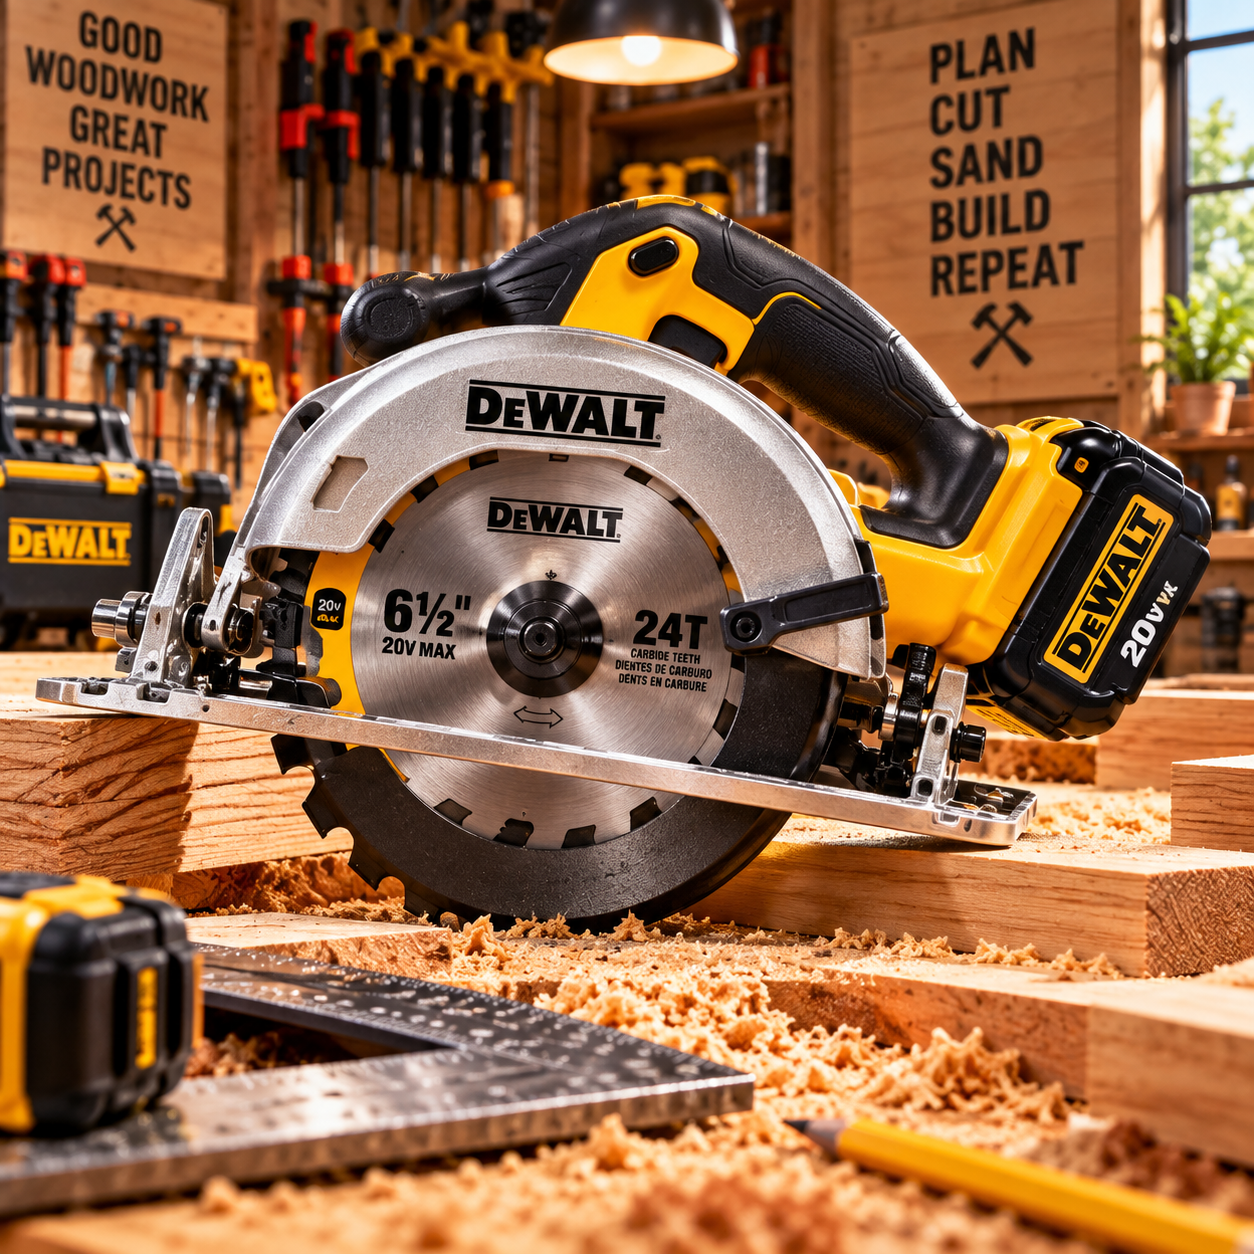
DEWALT 20V MAX Circular Saw DCS391B
A portable circular saw option for making common straight cuts in lumber, plywood, and other suitable woodworking materials.
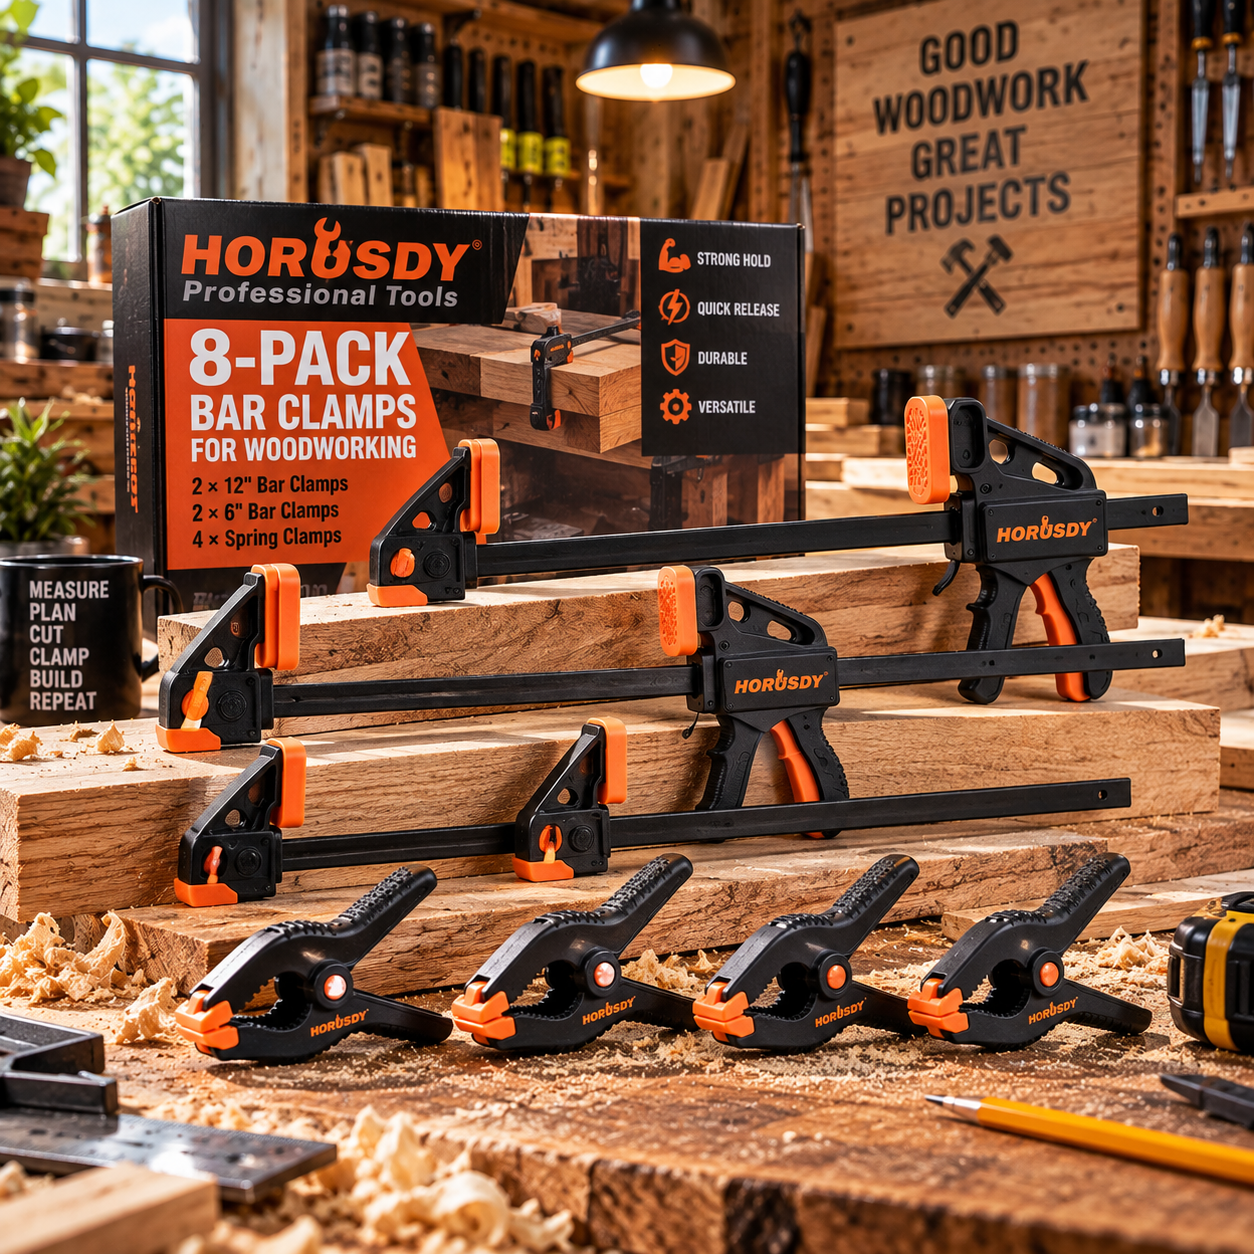
HORUSDY 8-Pack Bar Clamps
A set of woodworking clamps for holding components during assembly, glue-ups, positioning, and other common workshop operations.
1. Start With the Space You Already Have
A beginner workshop can be created in a garage, shed, basement, spare room, or another suitable work area. You do not need to wait until you have a dedicated woodworking building.
Start by measuring the available space and identifying doors, windows, electrical outlets, lighting, storage areas, and the paths you need to keep open.
2. Plan Around the Projects You Want to Build
Your workshop should support your projects rather than imitate someone else’s shop. Small furniture, shelves, boxes, home repairs, cabinets, and larger woodworking projects can require different amounts of working space.
Think about the dimensions of both your materials and finished projects before deciding where benches, storage, and tools should be positioned.
3. Build Around a Stable Work Surface
A stable workbench or sturdy worktable gives you a central location for measuring, assembly, drilling, sanding, and many hand-tool operations.
The work surface should remain stable under normal use and provide enough room for the types of projects you expect to build.
4. Leave Space Around the Workbench
A workbench is more useful when you can comfortably reach the areas required by your projects.
Avoid positioning the bench where doors, storage, machinery, or stacked materials prevent you from moving safely around the workpiece.
5. Good Lighting Is Essential
Accurate measuring, marking, cutting, sanding, and finishing all benefit from good visibility.
Use appropriate general workshop lighting and add task lighting where shadows make detailed work difficult. Position lights so your own body does not consistently block illumination from the work area.
6. Organize Electrical Power
Consider where corded tools, chargers, lighting, dust equipment, and other workshop devices will receive power.
Avoid creating a workspace where extension cords regularly cross walking paths or work areas. Electrical capacity, outlet placement, and wiring should be appropriate for the equipment being used.
7. Start With Measuring and Marking Tools
Accurate woodworking begins before the first cut. A practical workshop needs tools for measuring dimensions, marking cut lines, checking square, and transferring measurements.
A tape measure, suitable square, pencils or marking tools, and straightedge can cover many beginner tasks.
8. Add Basic Hand Tools
Power tools do not eliminate the need for hand tools. Screwdrivers, a hammer or mallet, utility knife, basic wrenches, and other common hand tools can solve many small workshop tasks.
Build your hand-tool collection gradually according to the projects you actually complete.
9. A Cordless Drill Is a Practical First Power Tool
A cordless drill can drill holes, drive screws, install hardware, assemble shop fixtures, and help build many beginner woodworking projects.
Because it performs several common tasks without requiring a power cord, it can become one of the most frequently used tools in a small workshop.
10. Choose a Versatile Cutting Tool
A beginner needs a practical method for cutting lumber and sheet material. A portable circular saw can perform many straight-cutting tasks without requiring the permanent floor space of a large stationary machine.
Use suitable material supports and an appropriate guide when the project requires controlled straight cuts.
11. Do Not Overlook Clamps
Clamps are useful for holding components while glue cures, securing workpieces during certain operations, positioning parts during assembly, and keeping pieces aligned.
A small assortment of useful clamp sizes can be more practical for a beginner than buying a large number of one particular style.
12. Create a Sanding Area
Most woodworking projects require some form of surface preparation. Keep sandpaper, sanding blocks, and power-sanding equipment organized so different grits are easy to identify.
Because sanding produces fine dust, consider dust collection and cleanup when deciding where sanding will take place.
13. A Random Orbital Sander Is a Useful Addition
A random orbital sander can speed up surface preparation on many common woodworking projects.
For detailed areas, corners, profiles, and final touch-ups, you may still need sanding blocks or hand sanding.
14. Organize Tools by How Often You Use Them
Frequently used tools should be easy to reach. Equipment used only occasionally can be stored farther from the main workbench.
Organizing tools according to workflow can reduce the amount of time spent searching for equipment during a project.
15. Use Wall Space for Storage
Wall-mounted shelves, cabinets, racks, and other suitable storage systems can free valuable floor and workbench space.
Make sure stored tools and materials are properly supported and do not create a falling hazard above the work area.
16. Keep Small Items Organized
Drill bits, driver bits, screws, nails, hardware, sanding discs, blades, and other small items can quickly create workshop clutter.
Bins, drawers, organizers, and labeled containers make these items easier to find and return after use.
17. Create Dedicated Lumber Storage
Boards, plywood, offcuts, and scrap material need an organized storage location.
Choose a system appropriate for the dimensions and quantity of material you keep. Avoid stacking lumber where it blocks walkways, doors, electrical equipment, or access to tools.
18. Separate Useful Offcuts From Waste
Woodworkers often keep scrap pieces because they may be useful for test cuts, setup blocks, small components, or future projects.
Set a reasonable storage limit so scrap material does not gradually consume the workshop.
19. Plan for Dust Management
Sawing and sanding can produce significant wood dust. Dust management can include collection at the tool, a compatible vacuum or extraction system, regular cleanup, and appropriate personal protective equipment.
The appropriate system depends on the tools, materials, workshop size, and amount of woodworking you perform.
20. Keep the Floor Clear
Scrap wood, cords, tools, packaging, and sawdust can create unnecessary obstacles in a workshop.
Build cleanup into your normal workflow rather than waiting until the workshop becomes difficult to move through.
21. Create a Charging Area
If you use cordless tools, a designated charging location can keep batteries and chargers organized.
Follow manufacturer instructions regarding charging, ventilation, temperature, battery inspection, and storage.
22. Store Blades and Bits Properly
Drill bits, saw blades, router bits, and other cutting accessories should be stored where their cutting edges are protected from unnecessary contact and damage.
Organized storage also makes it easier to identify the correct accessory for a project.
23. Add Tools Only When Your Projects Require Them
It is easy to assume that a woodworking shop needs every major power tool immediately. In practice, your projects will tell you which equipment should be added next.
When a particular operation becomes repetitive, slow, or difficult with your current tools, you can evaluate whether a specialized tool would improve your workflow.
24. Mobile Tools Can Save Space
In a small workshop, some benches, carts, or suitable machines can be arranged so they can be repositioned when needed.
A flexible layout can allow one area of the shop to support different operations without permanently dedicating floor space to every tool.
25. Think About Material Movement
A workshop needs enough room not only for the tool but also for the material entering and leaving the cutting or assembly area.
Long boards and large sheet materials may require significantly more clear space than the physical dimensions of the tool suggest.
26. Keep Safety Equipment Accessible
Appropriate eye, hearing, respiratory, and other protective equipment should be stored where it is easy to access before beginning work.
The protection required depends on the tool, material, process, and manufacturer’s instructions.
27. Read Tool Manuals Before Planning Permanent Stations
Stationary and portable tools have specific operating clearances, support requirements, electrical requirements, and safety instructions.
Review the manufacturer’s documentation before permanently mounting equipment or building dedicated workshop stations around a tool.
28. Leave Room for the Workshop to Grow
Your first workshop layout will probably change as you gain experience.
Avoid filling every available wall and floor area immediately. Keeping some flexibility makes it easier to add storage, benches, or new equipment later.
Basic Beginner Workshop Tool List
- Tape measure
- Square and marking tools
- Basic hand tools
- Cordless drill
- Circular saw or another suitable cutting solution
- Clamps
- Sandpaper and sanding blocks
- Random orbital sander when needed
- Drill and driver bits
- Tool and hardware storage
- Dust-cleanup equipment
- Appropriate personal protective equipment
Small Garage Workshop Setup
A garage workshop often needs to share space with vehicles, storage, outdoor equipment, or household items.
Prioritize a sturdy central work surface, wall storage, portable power tools, compact organizers, and equipment that can be stored or repositioned when the workshop is not being used.
Workshop Setup for a Small Space
Small workshops benefit from tools and storage systems that perform multiple functions.
Use vertical storage, keep the main work surface clear, avoid unnecessary duplicate tools, and consider how each new piece of equipment affects movement through the room.
How Much Should a Beginner Spend on a Workshop?
There is no single budget that fits every beginner. Someone building small boxes or shelves may need significantly less equipment than someone beginning with large furniture projects.
Build the workshop in stages. Start with equipment required for the first projects and expand when experience shows you exactly what is missing.
Common Beginner Workshop Setup Mistakes
- Buying too many tools before completing projects
- Filling all available floor space
- Ignoring lighting
- Not planning lumber storage
- Allowing cords to cross work areas
- Ignoring dust management
- Using the workbench as permanent storage
- Keeping excessive scrap material
- Ignoring material infeed and outfeed space
- Buying specialized tools before developing a need for them
How to Build Your Workshop Step by Step
Begin by clearing and measuring the available area. Establish a stable work surface and adequate lighting, then organize your measuring tools, hand tools, hardware, and materials.
Add versatile power tools such as a cordless drill and appropriate cutting equipment as your projects require them. Introduce clamps, sanding equipment, dust management, and additional storage as your workflow develops.
Once you have completed several projects, evaluate what slows you down. Those recurring limitations can help determine which tool or workshop improvement should come next.
Frequently Asked Questions
How much space do I need for a woodworking workshop?
There is no fixed minimum size. The required space depends on the projects, materials, tools, and work surfaces you use. A small workshop can still be functional when storage and workflow are planned carefully.
What is the first power tool a beginner woodworker should buy?
There is no universal first power tool, but a cordless drill is highly versatile for many beginner projects because it can handle both drilling and fastening tasks.
Do I need a table saw to start woodworking?
Not necessarily. Many beginner projects can be completed using portable cutting tools and suitable guides. Add stationary machinery when your projects and workflow create a practical reason for it.
Do I need a large workbench?
No. The workbench should fit your available space and the projects you build. Stability and usable access can be more important than simply having the largest possible surface.
How should I organize a small workshop?
Keep frequently used tools near the main work area, use vertical storage where practical, organize small parts in containers or drawers, and keep floors and work surfaces clear.
Should I buy all my woodworking tools at once?
No. Building the collection gradually allows you to select tools based on real project requirements rather than guessing what you might need later.
Final Thoughts
A good beginner woodworking workshop is not defined by the number of tools it contains. It is a workspace that makes it practical to measure, cut, drill, assemble, sand, and finish projects while keeping equipment organized.
Start with a stable work surface, good lighting, basic measuring and hand tools, versatile power tools, clamps, organized storage, dust management, and appropriate safety equipment.
As you complete more projects, allow your actual woodworking experience to determine how the workshop grows.
Build Your Beginner Woodworking Workshop
These three products represent useful equipment categories for a basic workshop: drilling and fastening, portable cutting, and workpiece clamping.
Disclosure: The product links below are paid affiliate links. As an Amazon Associate I earn from qualifying purchases.
DEWALT 20V MAX Cordless Drill/Driver Kit
A versatile drill-and-driver option for drilling holes, driving fasteners, assembling projects, and handling everyday workshop tasks.
DEWALT 20V MAX Circular Saw DCS391B
A portable circular saw option for making common straight cuts in lumber, plywood, and other suitable woodworking materials.
HORUSDY 8-Pack Bar Clamps
A set of woodworking clamps for holding components during assembly, glue-ups, positioning, and other common workshop operations.
Explore the Woodworking Gear Hub, review Essential Woodworking Tools for Beginners, learn How to Choose a Cordless Drill, or use the PickRightGear Gear Advisor to narrow down the equipment for your workshop.
Continue Learning
Explore Woodworking guides, learn How to Choose a Cordless Drill, learn How to Choose a Random Orbital Sander, compare Circular Saw vs. Miter Saw, or review Essential Woodworking Tools for Beginners.
Affiliate Disclosure: As an Amazon Associate I earn from qualifying purchases.